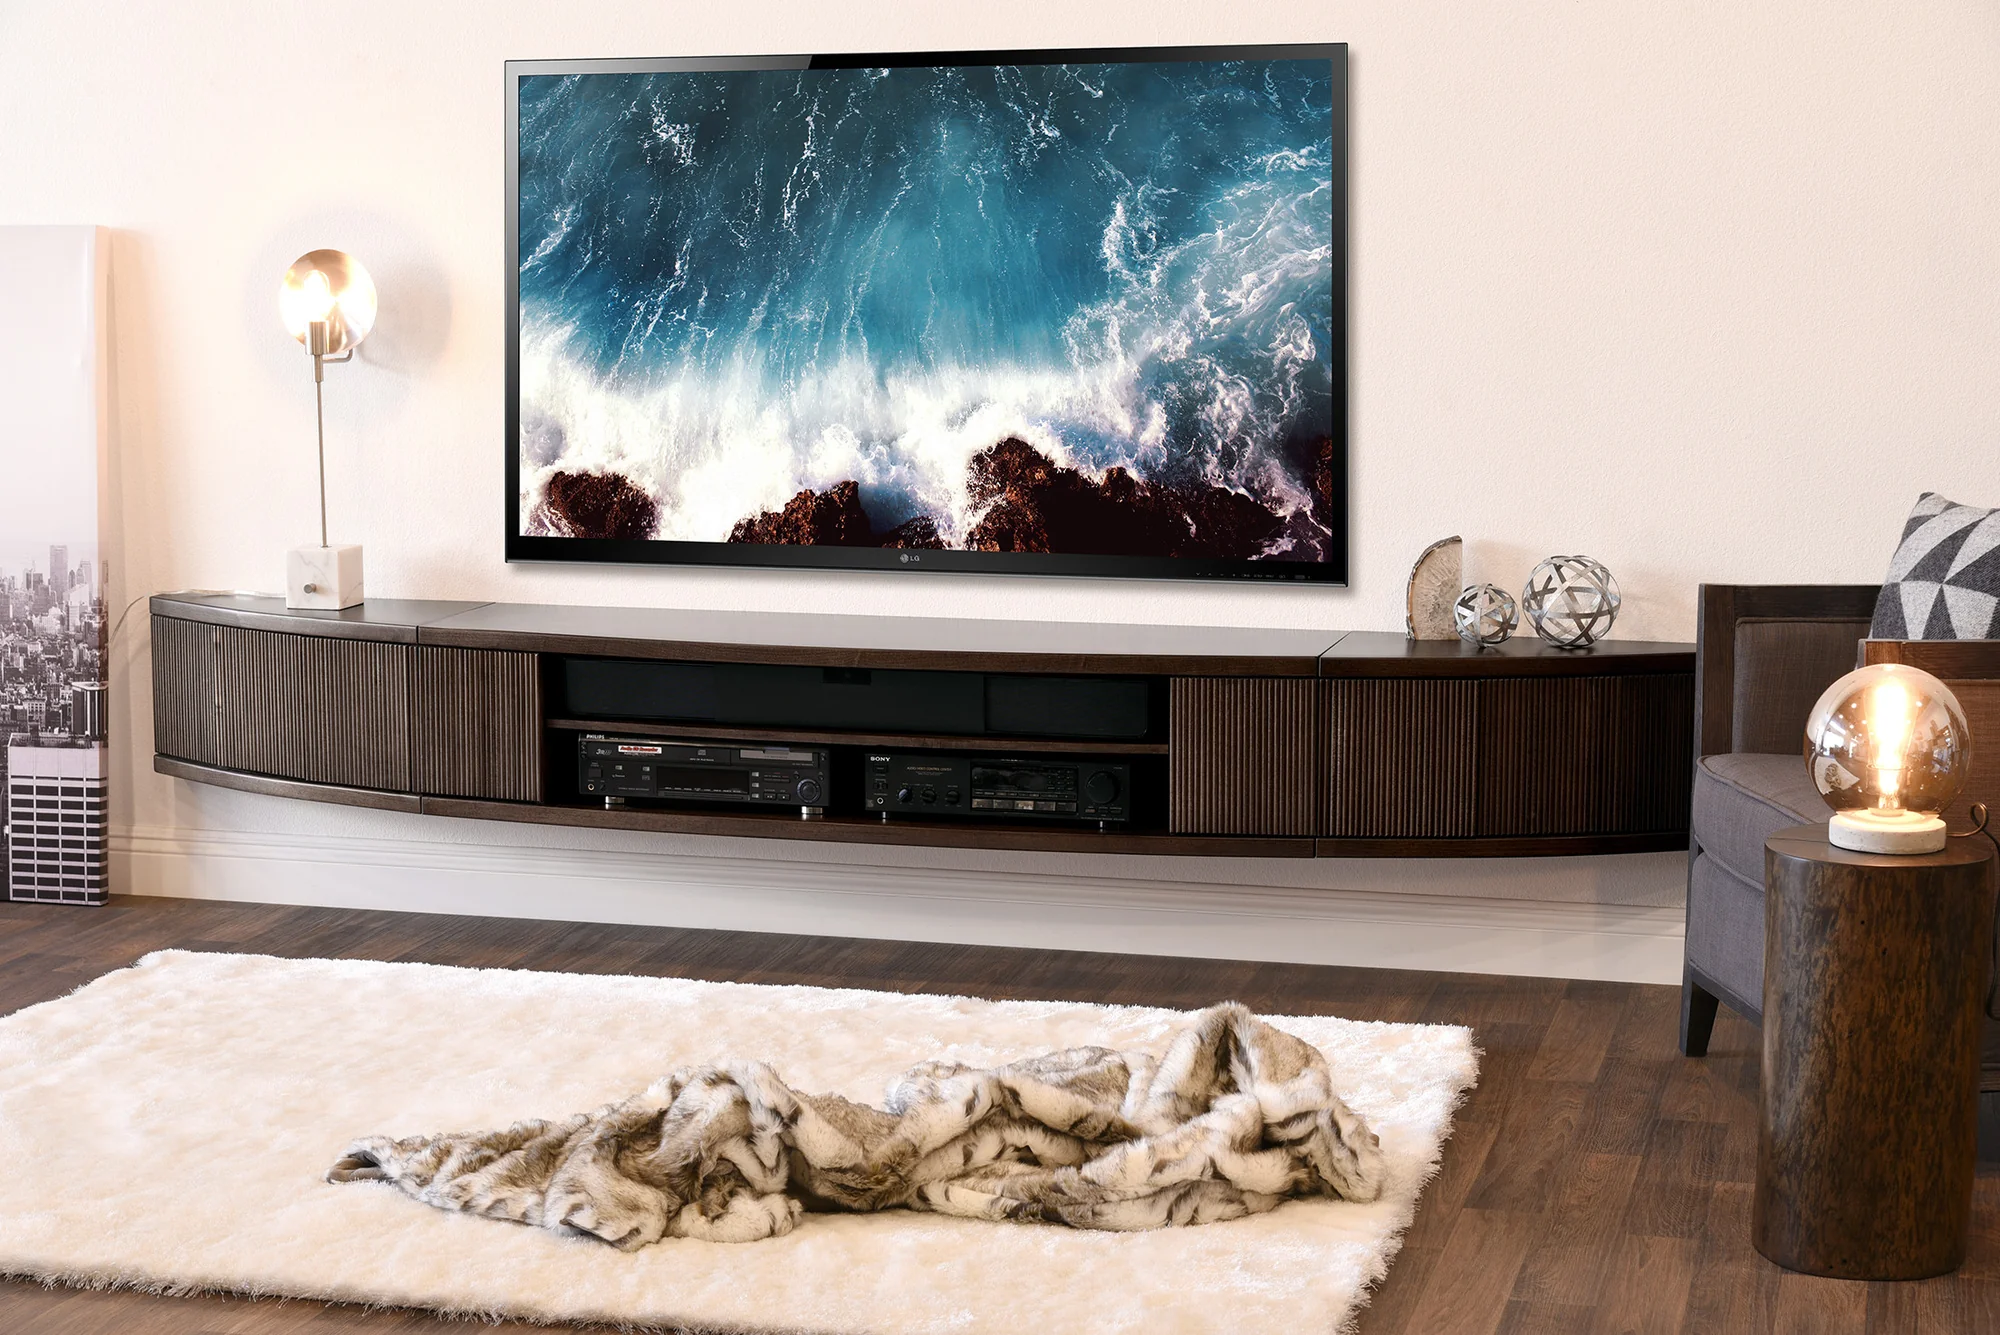
A floating entertainment center (additionally referred to as a floating media console or wall-installed tv unit) is a shelving and storage gadget that is constant to the wall, with out touching the ground. It is designed to maintain your television, media gamers, gaming consoles, sound structures, and related accessories in a swish, contemporary way.
Because it “floats” above the floor, it gives the illusion of more space and imparts a smooth, cutting-edge sense to dwelling rooms, bedrooms, or enjoyment regions.
Why Choose a Floating Entertainment Center?
Here are some compelling blessings:
- Place-saving: As it doesn’t relaxation on the floor, you maintain open ground area.
- Contemporary aesthetic: Gives a smooth, uncluttered appearance that works well in current or minimalist interiors.
- Customizable top: You can mount it at a peak that’s ideal for viewing and use.
- Smooth cleaning: With out a legs or base at the ground, you may sweep or vacuum below without problems.
- Cable manipulate: Many floating devices are built with hidden channels or decrease again panels to hide wires and cords neatly.
- Flexibility: You can pick modular units, cabinetry, or shelving combos to fit your area.
Key Design Considerations
Earlier than you pick or build a floating entertainment center, take into account the following:
1. Size & Proportions
- The width of the floating unit should be proportional to the television width—no longer too slim, now not overly huge.
- Depth matters: you want sufficient intensity to keep devices (DVD participant, soundbar) but no longer so much that it sticks out awkwardly.
2. Mounting Strength & Wall Type
- Your wall have to assist the burden of the television, unit, and objects placed on it.
- Use sturdy drywall anchors, toggles, or mounting into studs for safety.
- If the wall is plaster, brick, or concrete, special anchors or screws may be required.
3. Material & Finish
- Commonplace substances: plywood, MDF, stable wood, laminate, or veneer.
- Finishes: matte, gloss, painted, wood grain, or colored laminate.
- Keep in mind moisture resistance and sturdiness, particularly if placed close to home windows or humid regions.
4. Storage vs. Open Display
- Determine whether you need closed cabinetry (doors/drawers) or open cabinets.
- Closed garage hides muddle; open cabinets display off decor and electronics.
5. Cable & Ventilation Management
- Leave space or encompass cutouts at the returned panel for wires and power cords.
- Make certain ventilation so your electronics don’t overheat.
- Cover cables with in-wall twine kits or channel systems if allowed via local constructing codes.
6. Style & Matching Decor
- The style should complement your basic interior theme — current, Scandinavian, business, traditional, and so on.
- Choose matching or contrasting tones with flooring, partitions, or other furniture.
How to Plan & Install a Floating Entertainment Center (Step‑by‑Step)
Here is a step‑by using‑step manual for planning and putting in your floating leisure middle.
Measure Your Room & TV
- Degree the width, height, and depth of your television.
- Degree the wall width to be had and mark barriers (strength stores, studs, windows).
- Determine on the finest viewing height (eye level whilst seated).
Design Your Unit (or Pick One)
- If custom-building, sketch a design (width, top, shelf layout, cabinetry).
- Otherwise, pick a prepared-made floating console or modular unit.
- Make certain the intensity is sufficient in your devices.
Locate Wall Studs & Mark Mounting Points
- Use a stud finder to locate vertical studs at the back of drywall.
- Mark wherein heavy-obligation screws or mounting brackets will move.
Prepare the Back Panel / Mounting Brackets
- Many floating units have a timber lower back panel that attaches to the wall; the relaxation of the unit slots onto it.
- Drill pilot holes in the lower back panel to suit your stud places.
Affix the Back Panel or Brackets to the Wall
- At ease the lower back panel or heavy-duty bracket into the wall, making sure it’s miles flawlessly stage.
- Use lag screws or toggle bolts, depending on wall type.
Mount the Unit
- Slide or clip the floating cupboard onto the secured again panel or brackets.
- Ensure the unit is snug, level, and solid.
Wire Management & Ventilation
- Run cables through cutouts or channels on the back.
- If needed, make small holes for strength cords or HDMI cables.
- Depart space or vents round devices to prevent overheating.
Organize Devices & Add Décor
- Set up your devices (e.g. cable field, gaming console) on or in the unit.
- Area decorative gadgets—plants, books, art objects—on open shelves to customise.
- Hide greater wires behind closed drawers or cable covers.
Final Checks
- Test all gadgets.
- Ensure the unit is comfortable and strong.
- Make sure no wires are pinched and ventilation is good enough.
Design Ideas & Variations
Here are some famous patterns and versions of floating entertainment centers:
A. Minimalist Floating Console
- Easy, straight lines
- One or shelves
- Neutral colours (white, grey, black)
- Perfect for small rooms
B. Multi‑Module Floating Unit
- Several modules mixed (shelves + shelves)
- Asymmetrical layouts
- Mix of open and closed garage
C. Floating Console with Fireplace Insert
- Upload an electric fire in the middle
- Gives warm temperature and environment
- Combine media and environment in a single unit
D. Floating Corner Entertainment Center
- Designed for nook set up
- Angled shelves to observe room format
- Incredible for maximizing corner area
E. Floating Entertainment Wall (Full Wall System)
- From ground-to-ceiling panels
- Floating shelves, shelves across the tv
- Included lights, hidden speakers
- Creates a function wall
F. Mixed Material & Texture Design
- Use a combination of wooden, steel, glass, and acrylic
- Contrasting surfaces: matte wood + gloss panel + steel helps
- Provides visual interest
Materials & Tools You’ll Need
Right here’s a brief checklist:
Materials
- Plywood, MDF, or solid timber boards
- Laminate or veneer (optionally available)
- Returned mounting panel or bracket system
- Screws, washers, anchors, toggles, screws
- Cable management grommets or sleeves
- Ventilation grills, if required
- Paint or finish (varnish, lacquer, or stain)
- Hinges, drawer slides, handles (if cabinetry)
- Adhesives, wooden glue
Tools
- Tape degree
- Level
- Stud finder
- Drill and motive force bits
- Jigsaw or circular saw
- Clamps
- Screwdrivers
- Sandpaper / sanding block
- Paintbrush or curler (or spray setup)
- Twine cutters
- software knife
Tips to Make Your Floating Entertainment Center Look Its Best
- Maintain top comfortable: The middle of the tv have to be around eye level when seated.
- Don’t overcrowd shelves: Leave negative area for aesthetics.
- Balance open & closed: Use closed cabinets for litter; open cabinets for display.
- Use accent lighting: LED strips in the back of the television or below cabinets add drama.
- Camouflage wires: Use cable raceways or in-wall kits.
- Weight distribution: Shop heavier components close to the mounting panel for balance.
- Shade coordination: Match or subtly assessment with wall coloration.
- Add non-public touches: Art, plant life, decorative items can melt the tech look.
Common Mistakes to Avoid
- Ignoring wall capacity (main to dangerous installation)
- Mounting too high or too low (uncomfortable viewing)
- Overloading cabinets past weight limits
- Leaving cords uncovered
- Bad air flow causing devices to overheat
- Selecting too deep a unit that obstructs walking area
- Inconsistent style or mismatched finishes
FAQs
Q1: How much weight can a floating entertainment center support?
It depends on the power of the mounting gadget and wall type. Right anchoring into studs or masonry may also guide 100+ kg safely. Usually check manufacturer specifications or seek advice from a structural engineer if unsure.
Q2: Can I retrofit a floating entertainment center onto an existing wall?
Yes — however you should cautiously discover studs or use suitable heavy-duty anchors. If the wall is not robust sufficient, you may need to install a reinforcement board or additional aid.
Q3: What distance should I place the TV above the floating console?
A common rule: depart at the least 2–four inches (five–10 cm) above the pinnacle of the console for cable ease and coffee airflow. The middle of the tv should be roughly forty two to 48 inches from the ground (depending on your seating peak).
Q4: Can floating entertainment centers accommodate large TVs (65″ and above)?
Sure—provided the lower back mounting, bracket electricity, and cabinetry depth are appropriate. However for very big TVs, don’t forget reinforcing the wall and using more sturdy hardware.
Q5: Are floating entertainment centers more expensive than traditional units?
From time to time yes (in particular custom-built or fashion designer devices). However, modular or geared up-made floating gadgets may be value-aggressive. The cost is available in aesthetic, space-saving, and current design benefits.
Q6: How do I hide cables with a floating entertainment center?
- Use cutouts or grommets inside the lower back panel.
- Use in-wall cable management systems wherein authorized.
- Use cable raceways or trunking painted to fit walls.
- Package and path cables in the back of the cabinet to keep away from visibility.
Q7: Can I build a floating entertainment center myself?
Yes, with basic carpentry abilties, suitable gear, and cautious making plans. Be mainly careful about mounting, leveling, and wall electricity.
Conclusion
A floating entertainment center offers a sleek, current way to organizing your media gadgets and improving your residing area. It combines style and feature by freeing up floor space, concealing clutter, and imparting a clean, improved appearance.